Hand carving opens a door to precision work that power tools simply can’t match. Whether you’re tackling decorative details on furniture, adding depth to wooden boxes, or creating intricate relief panels, the right hand carving tools make the difference between a project that frustrates you and one that feels genuinely rewarding. Unlike general carpentry, carving demands finesse, control, and tools specifically designed for detailed work. This guide walks you through the essential hand carving tools every DIY enthusiast should know about, how to choose quality equipment, and how to keep your tools sharp and ready for the next project.
Table of Contents
ToggleKey Takeaways
- Hand carving tools like chisels, gouges, and V-tools offer precision control that power tools cannot match for detailed decorative work and relief carving.
- Quality hand carving tools are made from high-carbon or tool steel hardened to 58-62 on the Rockwell scale, with properly beveled edges that cut cleanly without requiring excessive pressure.
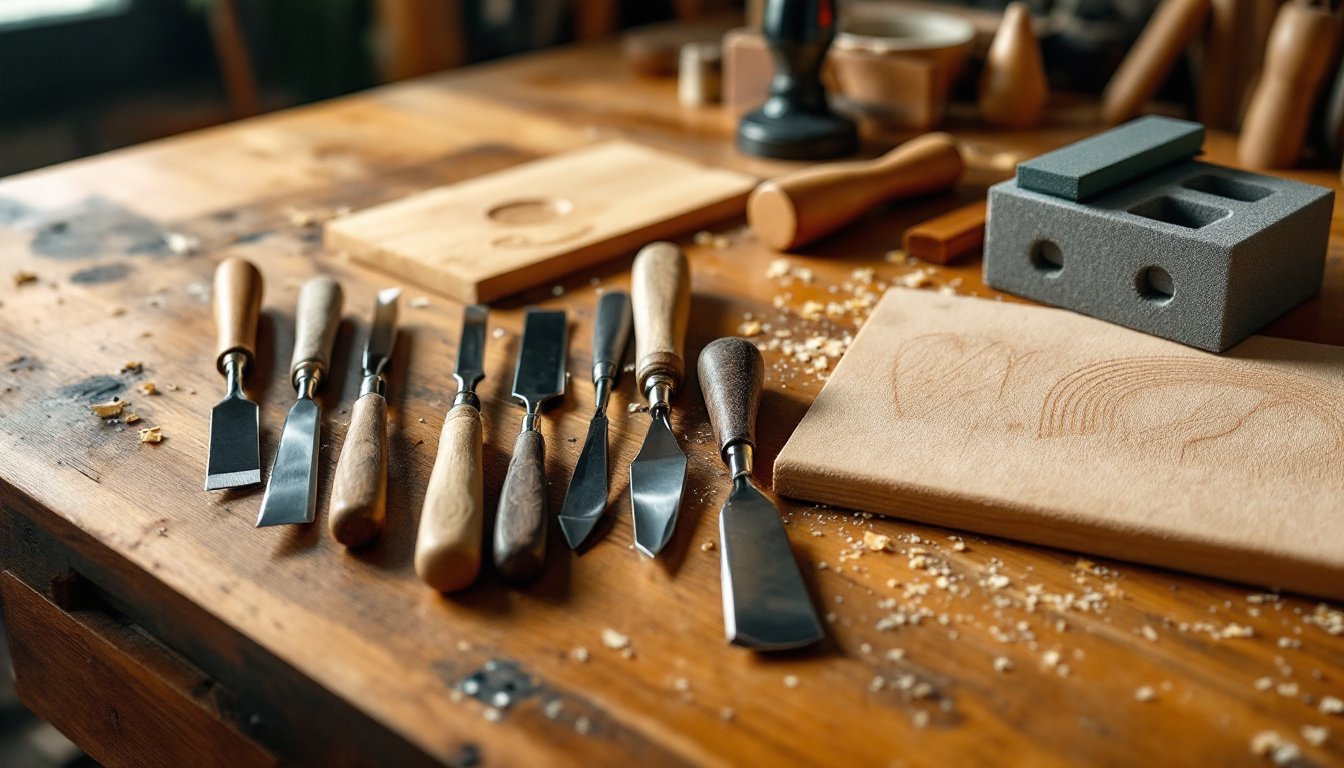
- A functional starter toolkit of 7 hand carving tools—three flat chisels, two gouges, one V-tool, and one skew chisel—costs $50-100 and covers 90% of detail work for DIY projects.
- Regular stropping on leather and sharpening with whetstones every few minutes during work keeps your blades sharp, safe, and effective far longer than purchasing replacement tools.
- Always carve away from yourself and your free hand, wear safety glasses and cut-resistant gloves, and avoid rushing—these practices prevent carving injuries that happen when tools slip into your palm.
- Store hand carving tools in blade guards or foam storage blocks rather than loose in a toolbox, and wipe high-carbon blades dry with a light coat of machine oil to prevent rust.
Understanding Hand Carving Tool Types and Their Best Uses
Chisels: The Foundation of Carving Work
Chisels are your workhorse in any carving project. A carving chisel differs from a framing chisel in several ways: it’s thinner at the blade, has a shorter handle for precision control, and the edge is typically beveled at a steeper angle (around 25 to 30 degrees). This geometry lets you slice cleanly through wood grain rather than crushing it.
Flat chisels remove broad areas of wood and establish layout lines. A 1/2-inch flat chisel works well for general detail carving, while 1/4-inch and 3/4-inch widths handle finer and broader work respectively. Skew chisels, angled at about 45 degrees, excel at reaching tight corners and cleaning up shoulders where two carving surfaces meet. If you’ve ever tried to square an inside corner with a straight chisel, you know the value of a good skew.
The best carving chisels have blades ground from high-carbon or tool steel, not stainless. High-carbon takes and holds a sharper edge, though it requires slightly more care to prevent rust. A few minutes of maintenance beats the frustration of a tool that won’t hold an edge no matter how hard you work it.
Gouges and V-Tools: Creating Curves and Details
Gouges are chisels with curved blades, and they’re essential for any work beyond straight lines. A gouge’s sweep refers to the radius of its curve, a #3 sweep has a gentle curve, while a #10 or #11 sweep forms a tight U-shape. Sweeps 3-6 work well for general carving: higher numbers suit relief work where you need dramatic curves.
The V-tool (also called a V-gouge) has two angled blades meeting at a point and creates crisp lines and texture. It’s invaluable for outlining designs, adding hair or fine details, and defining edges. A 60-degree V-tool is the standard for most carving: it’s forgiving enough for beginners but precise enough for experienced carvers.
Round-bottom gouges (#8-#10) allow flowing, organic shapes. Backbent gouges curve the opposite direction and reach into recesses without your knuckles getting in the way. Most beginners skip backbents at first, but after one project where a regular gouge keeps hitting your hand, you’ll understand why carvers swear by them.
The best wood carving tools combine sharp geometry, balanced handles, and reliable steel that won’t chip or dull after a dozen strokes.
Choosing the Right Tool Materials and Blade Quality
Steel quality separates a tool you’ll use for decades from one that frustrates you after three projects. Tool steel (often listed as O1, A2, or similar designations) holds a sharp edge far longer than basic carbon steel and resists chipping when you hit a grain change unexpectedly. Look for blades hardened to around 58-62 on the Rockwell hardness scale, hard enough to hold an edge, soft enough to sharpen without special equipment.
The blade’s ground edge matters as much as the steel itself. A properly shaped bevel lets the tool cut cleanly with minimal effort. Cheap chisels sometimes have uneven bevels ground at inconsistent angles, forcing you to compensate with extra pressure and uneven control. When you pick up a new carving chisel, look down the edge at a light source, it should be a razor-thin line, not a thick band or inconsistent reflection.
Handles should be comfortable and durable. Hardwoods like beech or ash are traditional and offer good control: plastic handles work fine if they’re ergonomically shaped. Avoid hollow handles on heavier tools, they flex too much. A handle should feel like an extension of your hand, not something you’re gripping for dear life.
Many carvers build their toolkit gradually rather than buying a massive set. A quality 6-piece set (two flats, two gouges, one V-tool, and one skew) costs $40-80 and covers most detail work. Sets are tempting and sometimes offer value, but verify that each tool feels balanced and sharp before assuming you’ve found a deal. Construction Hand Tools guide details how to evaluate tool quality across other categories.
Maintenance Tips to Extend Your Tool Lifespan
A dull carving tool is actually dangerous, you push harder, lose control, and risk the blade slipping into your hand. Keeping edges sharp isn’t a luxury: it’s essential. Stropping on leather charged with stropping compound (often called rouge) takes 30 seconds and removes minor dulling before it becomes a problem. Keep a leather strop hanging near your carving area and use it every few minutes during work.
When stropping isn’t enough, a whetstone restores the edge. A 1000-grit stone handles routine sharpening, while a 4000 or 6000-grit stone puts a final polish on the edge. Water stones work quickly but require frequent flattening. Oil stones are slower but more durable. Many carvers keep one combination stone (1000/6000 grit) in the shop: it covers most situations without requiring a second stone.
Rust prevention matters, especially for high-carbon blades. After use, wipe tools dry and store them in a dry space. If you live in a humid climate, a thin coat of machine oil on the blade prevents rust without interfering with function. Never leave carved tools lying in a damp workshop, you’ll find rust pitting the blade within days, and pitting is permanent.
Handle the tools as you’d handle fine knives. Store them in a blade guard or edge rack, not loose in a toolbox where they’ll knock against other tools. A small foam block with slots for each blade costs a few dollars and prevents damage that costs more to repair than the storage itself.
Getting Started: Essential Tools Every DIY Carver Needs
You don’t need 50 tools to start carving effectively. A focused starter set covers 90% of detail work. Here’s what to actually use:
Chisels:
- 1/4-inch flat
- 1/2-inch flat
- 3/4-inch flat
Gouges:
- 1/2-inch #5 sweep
- 3/8-inch #8 sweep
Specialty tools:
- 1/4-inch V-tool
- 1/2-inch skew chisel
This seven-tool set costs $50-100 from a reputable maker and handles lettering, decorative panels, relief carving, and detail work on furniture. Add tools as specific projects demand them, not because a set promises completeness.
A cutting board, end-grain butcher block, or similar soft hardwood is perfect for learning. Basswood and white pine are forgiving: avoid oak (grain is unpredictable for beginners) and walnut (expensive to learn on). A 2×6 board, 12 inches long, gives you plenty of space for practice strokes without commitment.
Mallet weight matters more than most people realize. A 16-ounce wooden mallet is standard: lighter (12-ounce) mallets suit detail work, while heavier (20-24-ounce) mallets remove wood faster on relief projects. Strike with the grain when possible, not across it. Workshop Tools List covers other essentials for setting up a complete carving station.
Budget for a leather strop, stropping compound, and a whetstone, these basics cost $20-30 and keep your tools sharper longer than any fancy gadget.
Safety Practices and Proper Handling Techniques
Carving injuries happen fast. Your hand is inches from a sharp blade moving with force, and a slip sends the tool directly toward your fingers. Proper technique prevents most accidents.
Always carve away from yourself and away from your other hand. Your free hand stabilizes the wood: position it well behind the blade’s path. If the tool slips, it goes away from you, not into your palm. Many carvers secure the workpiece in a carving vice or with clamps rather than holding it freehand, one less variable to manage.
Wear safety glasses. Wood chips fly, especially during mallet work, and an eye injury ruins your day (and your depth perception). A dust mask keeps fine dust from your lungs, particularly important when carving enclosed detail areas. Cut-resistant gloves (nitrile-coated cotton or similar) on your non-dominant hand add a layer of protection: they’re not foolproof, but they reduce severity if a slip happens.
Keep your blades sharp. A dull chisel requires extra force, and extra force is what causes your hand to slip into the blade. Swap to a sharp tool mid-project if sharpening takes 10 minutes. The time invested prevents a trip to urgent care.
Never rush. Carving is fundamentally slow work, you’re removing wood one or two flakes at a time. Speed comes from experience, not from pushing harder. Instructables guides show dozens of carving projects with safety best practices for each technique.
Store tools with blade guards, and keep them away from the edge of your workbench. A falling chisel can land on your foot or the floor: neither outcome is pleasant. Take 10 seconds to put tools away properly, it beats explaining how you got a carving gouge embedded in your boot.
Start Your Carving Journey with Confidence
Building a carving toolkit doesn’t require a second mortgage or a sprawling workshop. A small set of quality chisels, gouges, and a V-tool unlocks intricate detail work that transforms ordinary wood into something remarkable. Focus on sharp, well-made tools, learn to maintain them, and respect their capability. The DIY carver who works deliberately and safely finishes projects: the one who rushes and cuts corners spends time in the ER instead. Start simple, practice often, and add tools as your skills expand. Your future projects will be sharper, safer, and far more satisfying.

